Good morning! I'm popping in to share a couple cards that I created for the Pinkfresh Create and Take it table at Simon Says Stamp Create today! If you happen to be coming - I hope you come see Lea and I, and create one of these cards to take home with you!

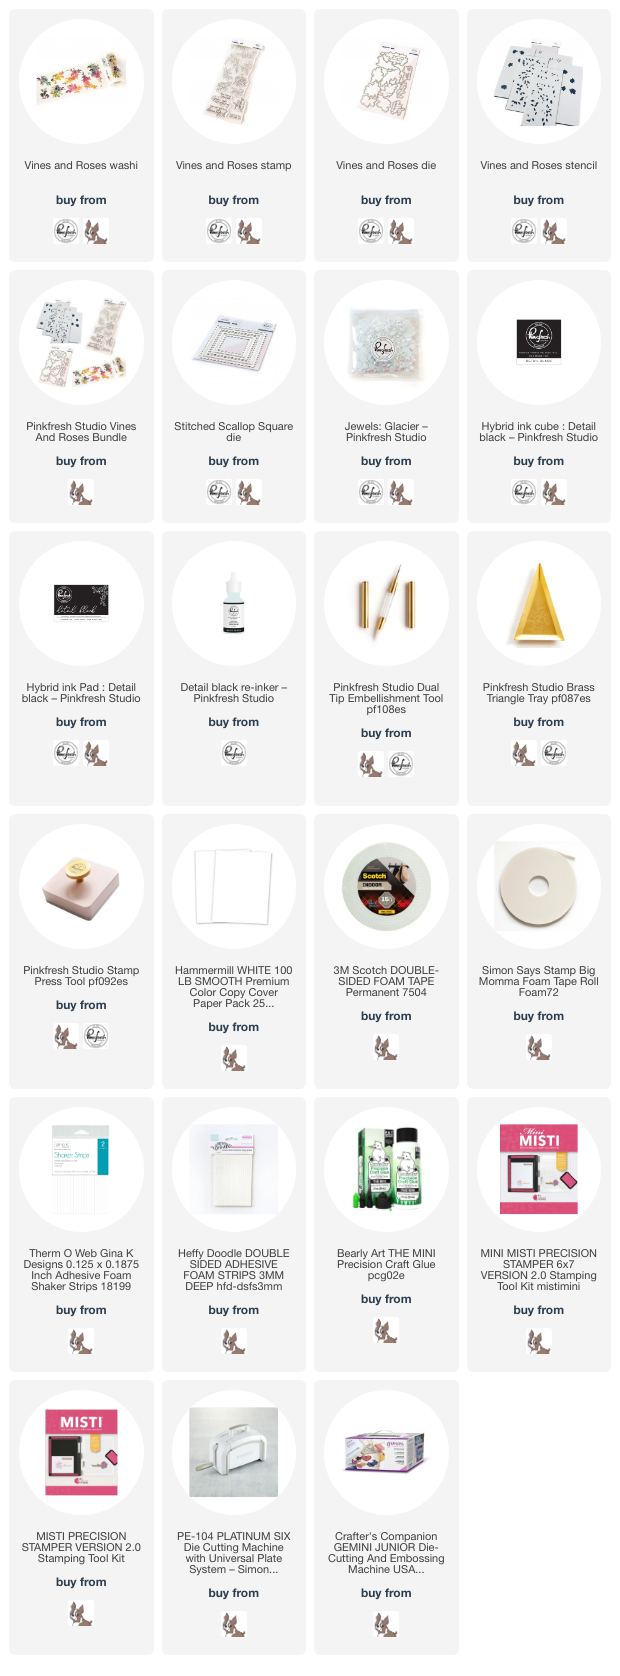
I used the lovely Vines and Roses washi tape, paired up with the Stitched Scallop Square die. The die is cut from white cardstock for a bit of added dimension and texture, but still keeping these cards light and bright, which helps that washi to just SHINE! Added a sentiment from the coordinating stamp set, cut out with the coordinating die that also works on the washi tape. A few Glacier jewels finish these cards off - because of the rainbow colors of this washi, any bling will work, and you will have an assortment to choose from at our table today! Here are more photos of these cards:


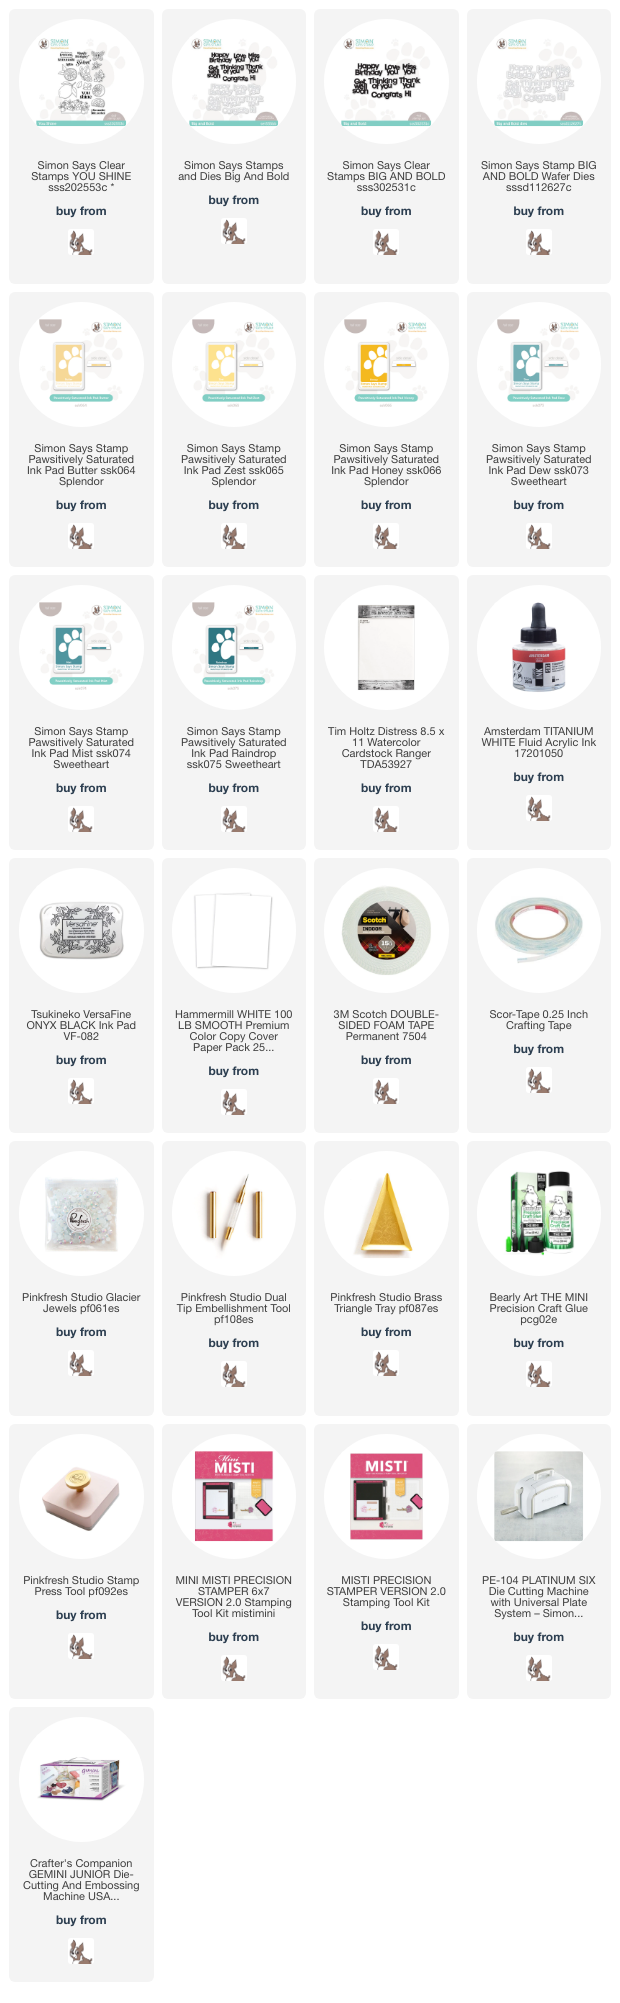
Product links are all below - including affiliate links where possible, which simply means if you use one of the links below that I receive a small commission at no additional cost to you. Thanks so much for stopping by! Have a wonderful day!!!


.jpg)